

Hello Everyone! I'm Back after a VERY LONG absence :) I hope everyone had a good festive season and enjoyed with all your family and friends, and I wish everyone a good start to a new year, let's all hope this year brings good things to everyone!
I have been super busy with crafting during the last three months and that kept me away from here. This year I plan to make up for my absence and one of my resolutions is to keep this blog uptodate no matter what! My first target is to keep the weekly manicure on and I have changed it's date from Tuesday to the Weekend, so anytime between friday and sunday a manicure post shall come up every week :) More sections will follow, but everyting depends on how good I manage my time. For the time being, I want to stick to the weekly manicure :)
On with the show and for this week I have prepared a very festive manicure. It matches the winter season well and for those who are already looking for carnival inspiration and plan to do something princessy, today's look is perfect. Without further ado, let the characters below welcome you to today's Frozen Manicure :)

So for this manicure you will need the following products:
- Bornprettystore Holographic polish in blue
- Bornprettystore Water transfers - snowflakes
- Golden Rose Glitter polish in turqoise
- Any top coat of your choice - I am using one by Debby Play


The first thing that needs to be done is to clean the nails. This will ensure that the polish lasts long and applies well. You may apply a coat of clear polish or base coat to protect your nails, but I can assure you that these particular polishes do not stain the nails.
As soon as you are sure that your base coat is completely dry, apply three coats of the holo polish to all your nails except the ring fingers. Make sure that all your nails are completely dry before applying the next coat. This will help prevent any mishaps. Apply three coats of Golden rose glitter to the ring fingers. Here is how it should look:

It already looks great and can be left like this if you wish :) Just clean the overspills :P I took this photo in indoor lighting and that's the reason why the holographic is not showing off it's best. If you look at it in the sunlight it will shine in all the colours of the rainbow. It also shows well in a spotlit place (such as a lift)
 |
| The tray at the back is a small chinese sauce holder which I got from Lidl and is filled with water in order to float the transfers. Don't forget to remove the protective film before you float them. |
Next up you will need a small shallow plate and some water in order to float your snowflakes. After floating the transfers, pick them up gently, I use my own fingers but you can use a pair of tweezers. Place the snow flakes on the holographic nails in any pattern that you wish, tap them lightly with a tissue to remove excess water, then either wait for them to dry or else use a hair drier to be quicker. Once all the water has been removed and the transfers aren't moving around on your nails, apply a coat of top coat or clear polish.
This is the final look:
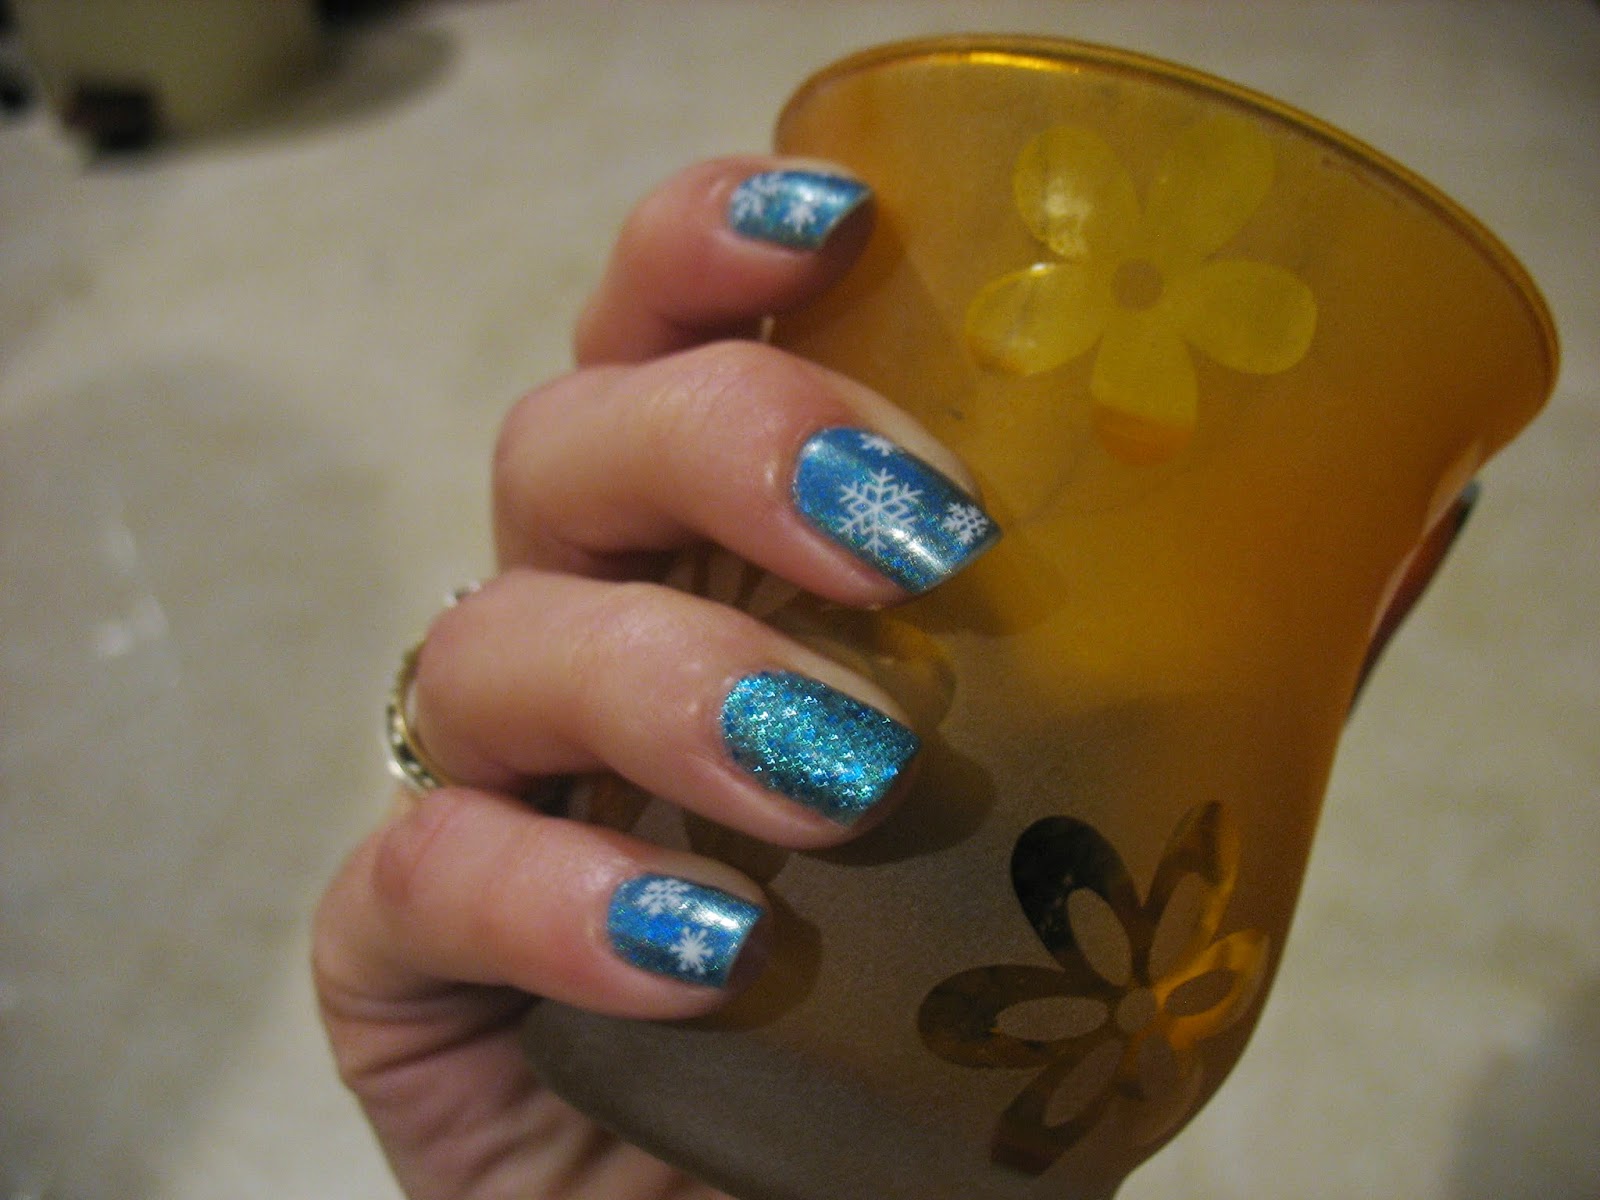
We have been missing sunlight this week so I couldn't shoot a good photo to show off the holos in all its power but you can see a little flicker in the photo above.
I hope you like this week's Frozen inspired manicure :) Let me know what you think in the comments :)
If you wish to get hold of the holographic polish and the transfer decals you can visit Born Pretty Store by clicking here. They have an extensive variety of products to choose from and they are very affordable :)
That's all for today and I will talk to you again next week for another Weekend Manicure :)
Saranghae
Pauline


